Overcome your fear of falling

Some of you will be lucky enough not to need this, however,
the fear of falling over is THE biggest obstacle for many when it comes to learning a handstand as an adult. 
I treat this aspect seriously and micro-dose up, step by step.

Learn More

Overcome your fear of falling

Some of you will be lucky enough not to need this, however,
the fear of falling over is THE biggest obstacle for many when it comes to learning a handstand as an adult. 
I treat this aspect seriously and micro-dose up, step by step.

Learn More

The Handstand Toolkits 8 Step To Overcome Your Fear Of Falling

I find the journey outlined below one of the most rewarding to teach, simply because it is the hardest part of the entire journey for some. Furthermore, it’s often the least understood stage of learning because many, especially those teaching this, can skip right past learning to fall on their first attempt at a handstand.

The Kaizen Principle

When learning to bail from a handstand, it’s all too common to see people being thrown in the deep end, have a bad experience, and get shut out of the practice forever. This initial block is highly prevalent in martial arts,  acrobatics and many more practices. Handstands are no different.

For this reason, I am a big believer in the Japanese 'kaizen' principle of incremental but continuous improvement over time. Chip away at it each day, step by step and it is definitely doable. Celebrate the small wins.

Placeholder Image
Placeholder Image

Phase 1 - Loading The Wrists

The first exposure is through beginning to understand what taking weight in the hands feels like.

This involves wrist warm-ups, gradually increasing the weight over time and eventually holding a wall tuck. Here the goal is simply to support our bodies on our wrists and arms and get some exposure to using the wall.

Placeholder Image

Phase 2 - Hand, Foot, Foot

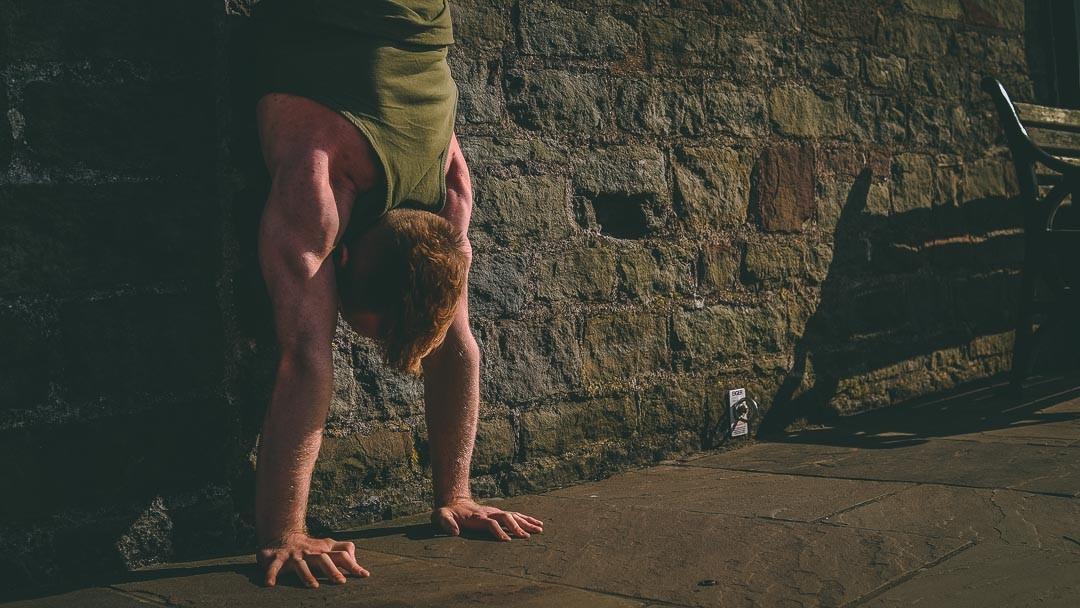
The wall tuck hold is then advanced to the wall tuck bail.

Here we introduce the sequencing of hand, foot, foot. The body remains tucked and low to the ground. We don’t walk the hands in closer or extend the legs. Simply get up on the wall, and then come down by stepping the hand, and then each foot.

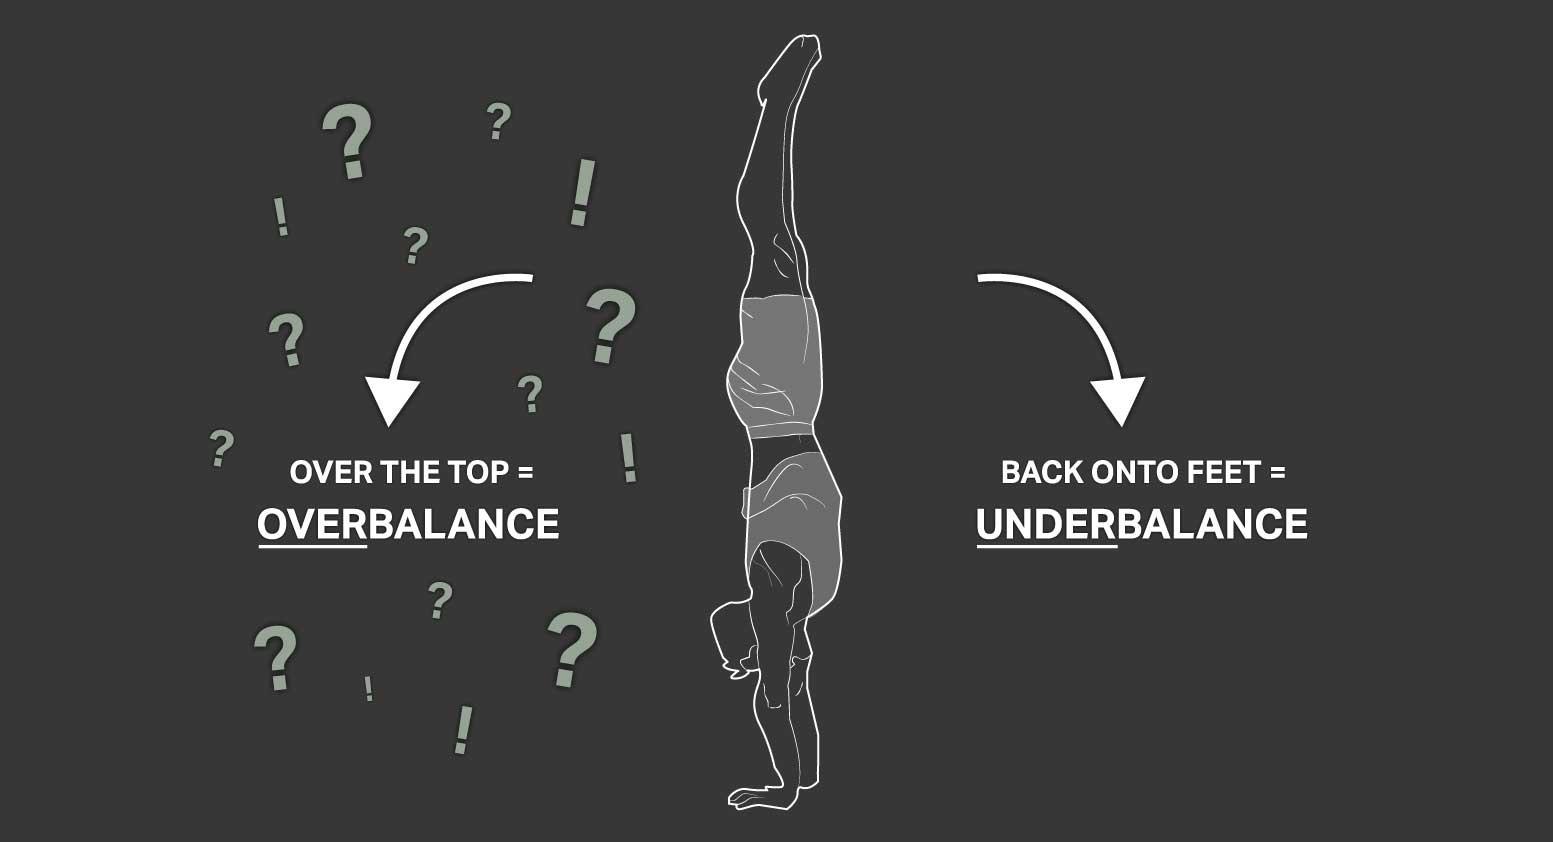
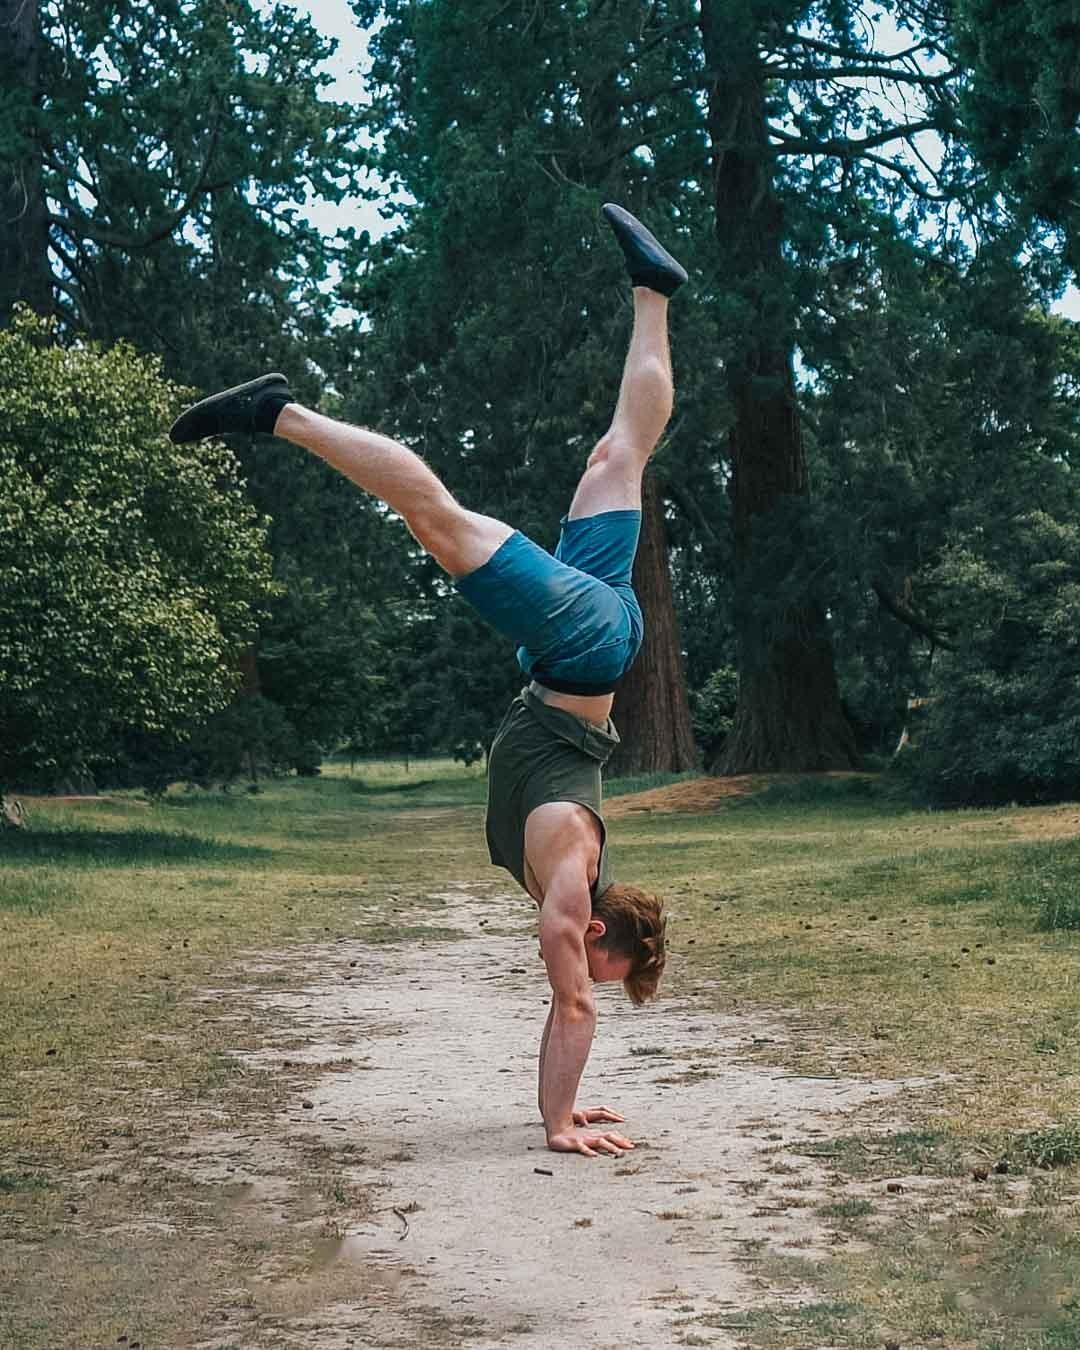
Learning to fall out of a handstand is the fundamental first step. It is NOT possible to learn to handstand without being able to fall over in overbalance. This means we must learn to be comfortable and confident in falling through overbalance.

We want to build the bail as a safety mechanism. Thereby we want minimal thought processing behind it. We achieve this through high repetition. This is the only drill I actually recommend practising on one side, because I want it to be an ingrained response where you don’t think, you just do, in order to land on your feet.

Placeholder Image
Handstand over and under balance

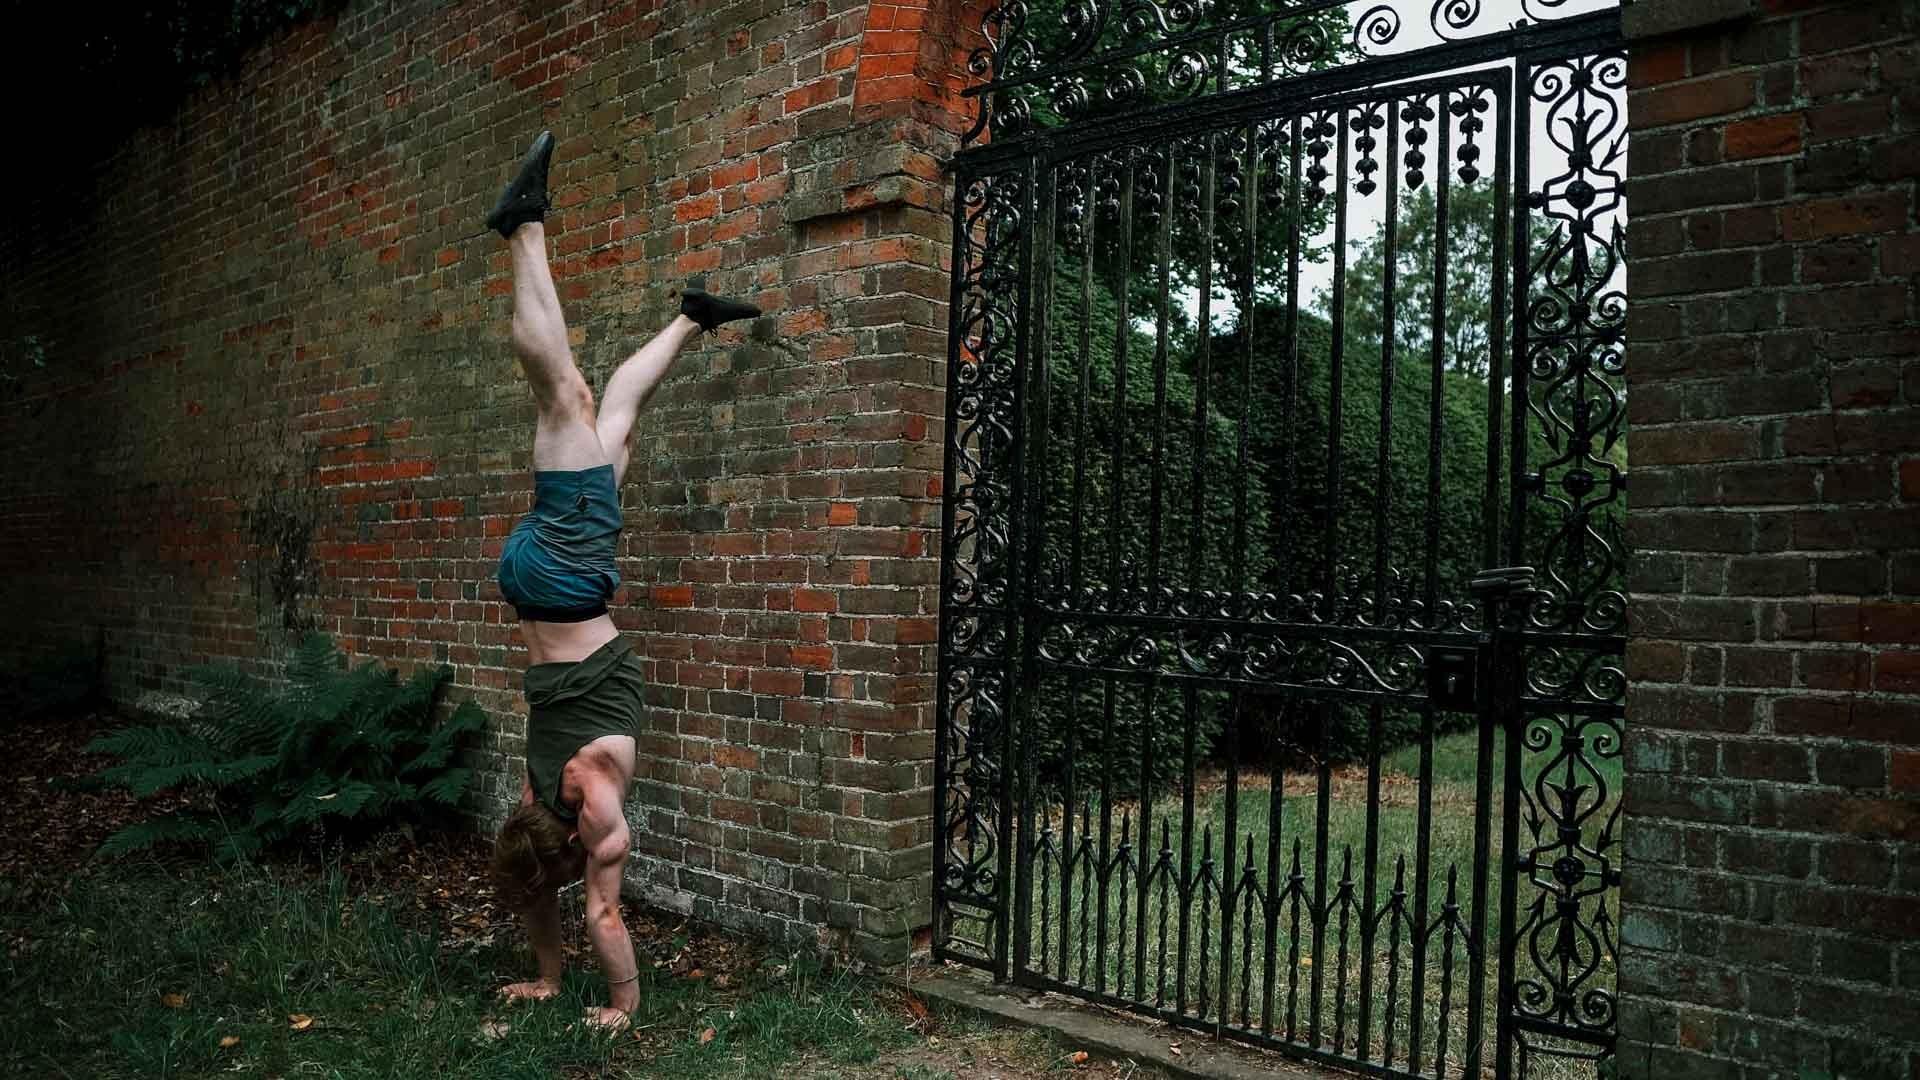
Phase 3 - Cartwheel Bail

Once comfortable with landing from the wall tuck bail, the bail is advanced gradually towards a chest to wall bail through this sequence.

  1. Extending the legs first
  2. Bailing with straighter legs
  3. Taking one step closer with the hands
  4. Walking in with the hands
  5. Tipping Point (phase 4)
  6. Bailing from chest to wall (phase 5)

As you build up towards chest to wall with straight legs, don’t force yourself to go closer and higher until you have comfortably bailed from that height.

This phase can be highly objective. For those practising in the same spot, use a marker on the floor to track the distance you’re bailing from. The goal is to fractionally decrease the distance each session. Even a centimeter or two is great! Each step adds in practice and over time will build you up to bailing from the wall. Kaizen principle in action.

There is no rush. Take it at your own pace and focus on quality.

Placeholder Image
Tim split leg balance handstand

Phase 4 - The Tipping Point

When building up to bailing from a chest to wall handstand you will notice that once you get to about 30cm to the wall your feet have to go ‘over’. From here your feet cannot land in between your hands and the wall but must now go over or to the side.

It is common to feel like the fear kicks back in, for many this tipping point is where they leave their comfort zone and have to actually twist and cartwheel out of the handstand.

Approach this gradually, it’s fine to go back to the previous distance to remind yourself that you know what to do. Let the body twist over with the motion of the hand.

If needed, try to simulate the twist of the cartwheel at the point you feel comfortable so when you go beyond the tipping point you already feel confident with the motion.

Tim split leg balance handstand

Phase 5 - Reactive NOT Proactive Chest To Wall Bail

Once a chest to wall bail is achieved, we then want to simulate a freestanding handstand as much as possible. When falling in a handstand we are very rarely choosing to fall. For this reason, we must react and then bail in order to save ourselves.

The main issue with the transfer of the cartwheel bail from the wall to falling from freestanding is that we proactively choose when to fall when against the wall. It’s all too easy to psyche yourself up, brace and then bail.

To simulate the freestanding bail we should instead try and balance a chest to wall handstand. Even if it holds only for a microsecond, it removes the proactive choice to fall and becomes more reactive by changing the goal from “I’m about to bail” to “I’m about to balance”.

The aim here is what I call a micro-balance. Even a split second can be enough to make the bail more reactive than proactive.

When the goal is to balance chest to wall, you will accidentally fall in overbalance sometimes forcing you to respond. If the proper steps have been taken, without rush, your body will naturally react to land on your feet. You’ve technically then bailed from freestanding.

Placeholder Image
Placeholder Image

Phase 6 - First Freestanding Bail

Bailing from a reactive chest to wall has very little difference in execution than bailing from your kick up.

They both fall from the top of a handstand and both require you to react. The only new component is adding the kick up.

Your mission here is NOT to hold a handstand, but rather to kick up with more and more power until you just tip over the top. Then do that enough times in a row that it becomes less scary.

At this stage, getting comfortable with going over is more important than trying to hold the handstand. Trust me, when you’re comfortable going over it’s much easier to learn to balance it.

Placeholder Image

Phase 7 - The 50/50 Rule

There is a big difference between a floating hold of a brief second or two and an actual hold of over 10s. When first learning to kick up to handstand it will require going into overbalance sometimes, you need to be comfortable with it.

So much so, that I recommend going into overbalance FOR EVERY time you don’t kick up enough and fall in underbalance. If you’re strict on yourself with this progress is almost inevitable. With practice you will refine how hard you need to kick up to get your centre of mass over the base of support of your hand. This is where you can begin to balance the freestanding handstand.

I also know that 80% of you trying this will still play it too safe when kicking up to handstand and avoid going over. Go for it, be brave!

Placeholder Image
Placeholder Image

Phase 8 - Sticking The Handstand

Sticking the handstand itself is a whole new beast. We now know how hard to kick up and how to bail over but in order to stick the handstand we have to learn how long we can wait before bailing. When ‘catching’ the handstand, it’s crucial to be able to push with the fingers to slow our momentum just enough to begin to balance.

It will be tempting to bail early and not use our full potential of pushing with the fingers in order to catch the handstand. Here we need to learn to prioritise fighting with the fingers to save the balance instead of bailing.

2 common mistakes:

  1. Stepping the hand out too early, initiating the bail too soon.
  2. Bringing the top leg down too early, cancelling out the kickup and bringing us back into underbalance.
Placeholder Image

We all learnt as adults too

The entire Handstand Toolkit team learnt to handstand as an adult without a background in gymnastics or acrobatics. We understand the fears, limitations and the journey of learning to handstand as an adult.

Everyone on the team has minute handstands, presses and advanced two arm shapes. Some can handstand pushup and one arm handstand. All of us started at zero.

You're in safe hands.

Join The Handstand Toolkit

What's Included In The Full Handstand Toolkit?

45+ tutorial videos

Tutorial Videos

Understand the why behind the drills and experience for yourself how our methods work

25+ programs

Programs

A different program for every level. We include how often to practice, drills, sets, reps and rests.

100+ drill videos

Drill Videos

Keep moving forwards with clear, concise drills and exercises for each and every program.

10+ PDFs

PDFs

Assessments, case studies and more. Learn to customise and individualise your own progress.

Detailed, Graphically Annotated Tutorials At Your Level

why chest to wall

Why Chest To Wall?

Joining The Feet

Joining The Feet

Entering the wall

Entering The Wall

The FIGHT + learning to save

The FIGHT + Learning To Save

Where Is Balance

Where Is Balance?

Kick ups you should know

Kick Ups You Should Know

Bonus Videos

Trap-1 & trap-3 raise

Accessory Work

Trap-1 & trap-3 raises, training outside of handstands.

Low Balances

Low Balances

Frog & crow stands, elbow levers and more.

All The Tools You Need To Learn To Handstand

This isn't just a series of programs. The Handstand Toolkit teaches you the underlying principles so that you understand the reasons behind each drill, not just how to do it. Giving you more self-confidence, awareness and the tools to develop your own practice from learning to bail and getting your first hold, to changing shapes, pressing and more.


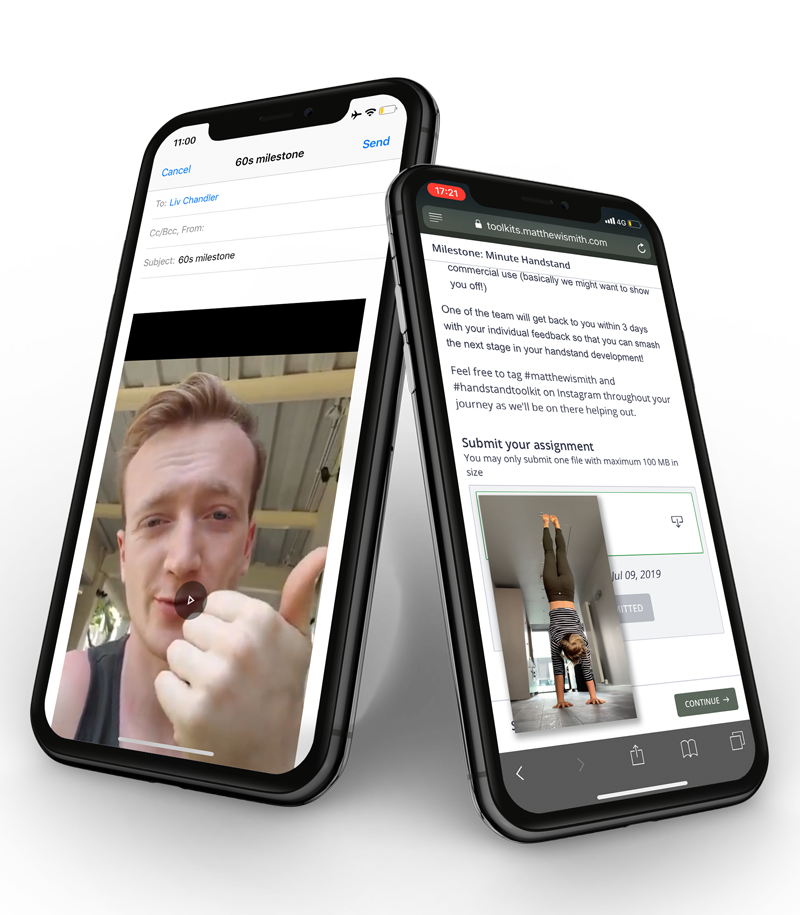
You're not left alone. Individualised coaching included in the Toolkit

Unique to the Full Handstand Toolkit, we've included individualised coaching on your milestone video uploads. One of our experienced team (who all learnt to handstand as an adult) will respond via video with in depth feedback.

Individualised Online Handstand Coaching
Suzanna Handstand Toolkit review

Suzanna

"Bailing out from a handstand has been my scary struggle for the past 1.5 years. Even though I know I am safe and I am not going to kill myself... This is the first time I've dared to bail out from a close chest-to-wall handstand. And I survived! Thank you for the Handstand Toolkit!"

Saga Handstand Toolkit review

Saga

"My biggest struggle starting my handstand journey was the fear of falling over, which resulted in me not being able to fully kick up. Now I can kick up carelessly and feel confident in my handstands!"

Mayoor Handstand Toolkit review

Mayoor

"Handstands, something I wasted so much time on for AGES. I've finally been able to solidify this move THIS YEAR! ... Once again a huge thank you to @matthewismith for making that road to handstand a lot clearer. Without your guidance I'd still be lost with the move."

Join The Handstand Toolkit

Handstand Toolkit

£297

One Time Payment

  • 45+ Tutorials
  • 25+ Programs
  • 100+ Video drill library
  • 10+ PDFs
  • Online coaching on your milestone videos with detailed 1:1 video responses by coaches
  • Shoulder flexibility assessment and training guide
  • Example student case studies
  • All bonus content
  • Exclusive discounts
  • All future updates
BUY NOW